All users can create new Jobs. However, if a Power User creates a Job, approval from an Administrator or Internal Recruiter is required.
- In the Jobs section, click the Add Job button.

- When the Create a Job screen appears, enter the required information from top to bottom. Fields marked with a red asterisk (*) are mandatory.
Job Post
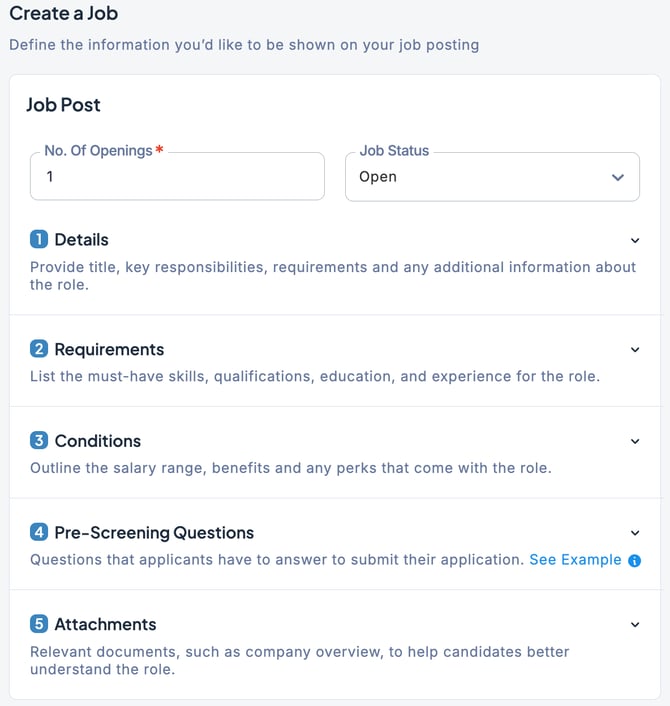
| No. of Openings | Enter the number of hires planned for the Job. |
| Job Status | ・Open: The Job is currently active and hiring. (Note: The default status for each Job is set to “Open”) ・On Hold:Hiring is temporarily paused but may resume in the future. ・Filled:All planned hires for the Job have been completed. (Note: When the number of hired candidates matches the planned number of hires, the status automatically changes to “Filled”) ・Closed: The hiring process has been stopped or terminated for some reason. |
| ① Details | Enter the Job details such as position title, employment type and job description. |
| ② Requirements | Register the application requirements, such as required and recommended skills, years of experience, and other details. |
| ③ Conditions | Enter details such as salary, work location, working hours, vacation, social insurance, and other allowances. |
| ④ Pre-Screening Questions | Set the hiring manager and recruiter, define hiring requirements and screening questions, and design the interview process. For more details on the hiring process, please refer to this section. |
| ⑤ Attachments | Attach any files that are relevant to the Job. ※Attachment Requirements (Jobs) |
Hiring Process
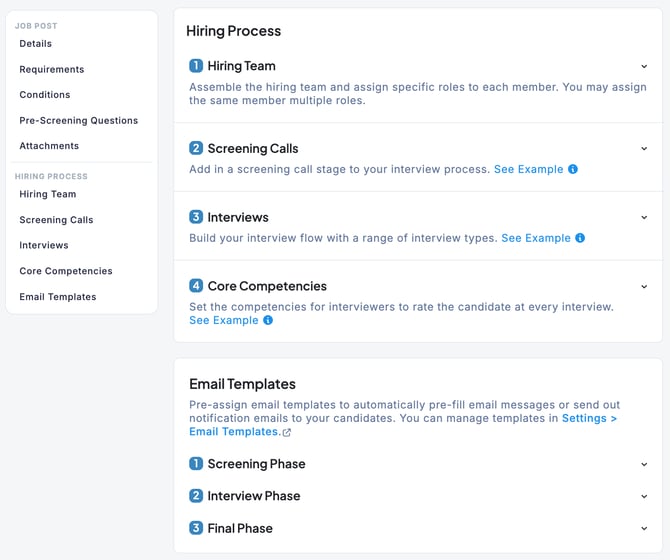
| ①Hiring Team | Assign the stakeholders involved in the Job. (Since Power Users and Collaborators can only view Jobs related to them, it is necessary to assign the required roles here.) |
| ② Screening Calls | Set up an initial meeting with the candidate (such as a casual interview or preliminary check). |
| ③ Interviews | You can register formal selection interviews for candidates. For each Job, you can flexibly configure the number of interviews, their content, and the assigned interviewers. |
| ④ Core Competencies | These are evaluation criteria displayed across all interviews. They can be set as mandatory items for interviewers to complete regardless of interview type and are used in the candidate’s overall assessment. |
| Email Templates | Register commonly used email templates, such as candidate instructions or rejection notices. You can also choose whether or not to send them. |
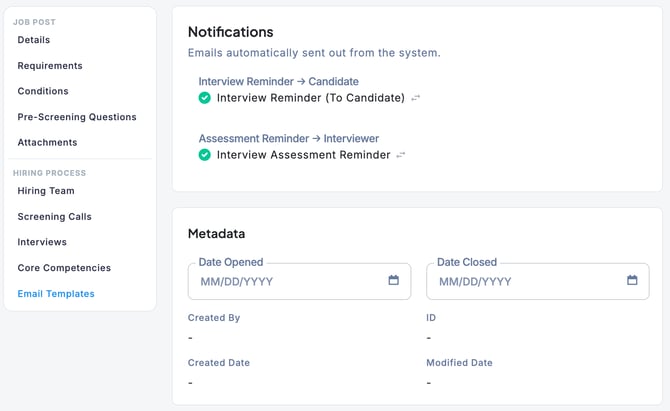
| Notifications | |
| Metadata | If you want to set a start and end date for the Job, enter them here. |
3. Once you have finished entering the information, click the Save button. The Job post is now complete.

- “Reset”: Clears all the information you’ve entered so far.
- “Cancel”: Cancels the creation of the new job and closes the screen. (Your input will not be saved.)
- “Preview”: Allows you to see how the information you’ve entered will appear on the career site
- “Save as Draft”: Saves the new job as a draft so you can edit it later.
However, please note that you won’t be able to save it if any required fields marked with a red asterisk (*) are left blank.